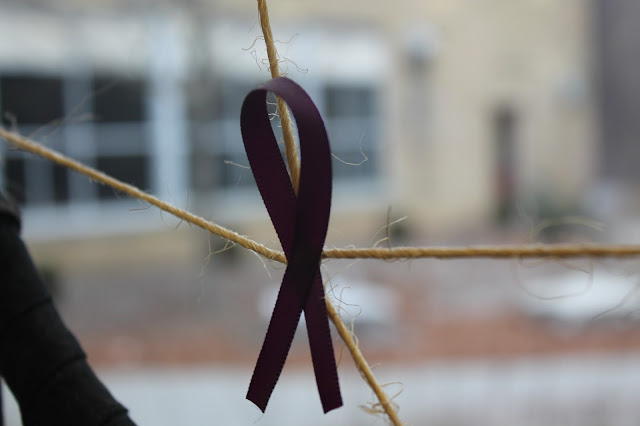
Before #1
After #1
The Photoshop tools i used on this photo were levels to make the dark tones darker and the white tones brighter, brightness/contrast to increase the vibrancy of the colours. hue/saturation, clone stamp tool, dodge and burn to brighten the coloured squares inside and darken the edges of them.
Before #2
After #2
The Photoshop tools I used on this photo were clone stamp tool to remove the black thing in the bottom left hand corner, brightness/contrast to increase the light in the photo and make the shadows darker. hue/saturation to enhance the colour especially of the rope and the bow, levels to increase the brightness and colour more, doge to lighten the bow and spots on the rope and burn to increase the darkness on the overlap in the bow.
Before #3
After #3
The Photoshop tools I used were sharpen to get rid of the fluffy looking texture of the feather and sharpen the edges of it to look more in focus, clone stamp tool to get rid of the plant at the bottom of the photo, brightness/contrast to increase the brightness of the photo and the snow, hue/saturation to enhance the colour of the feather, and levels to even out the brightness and darkness of the photo


No comments:
Post a Comment